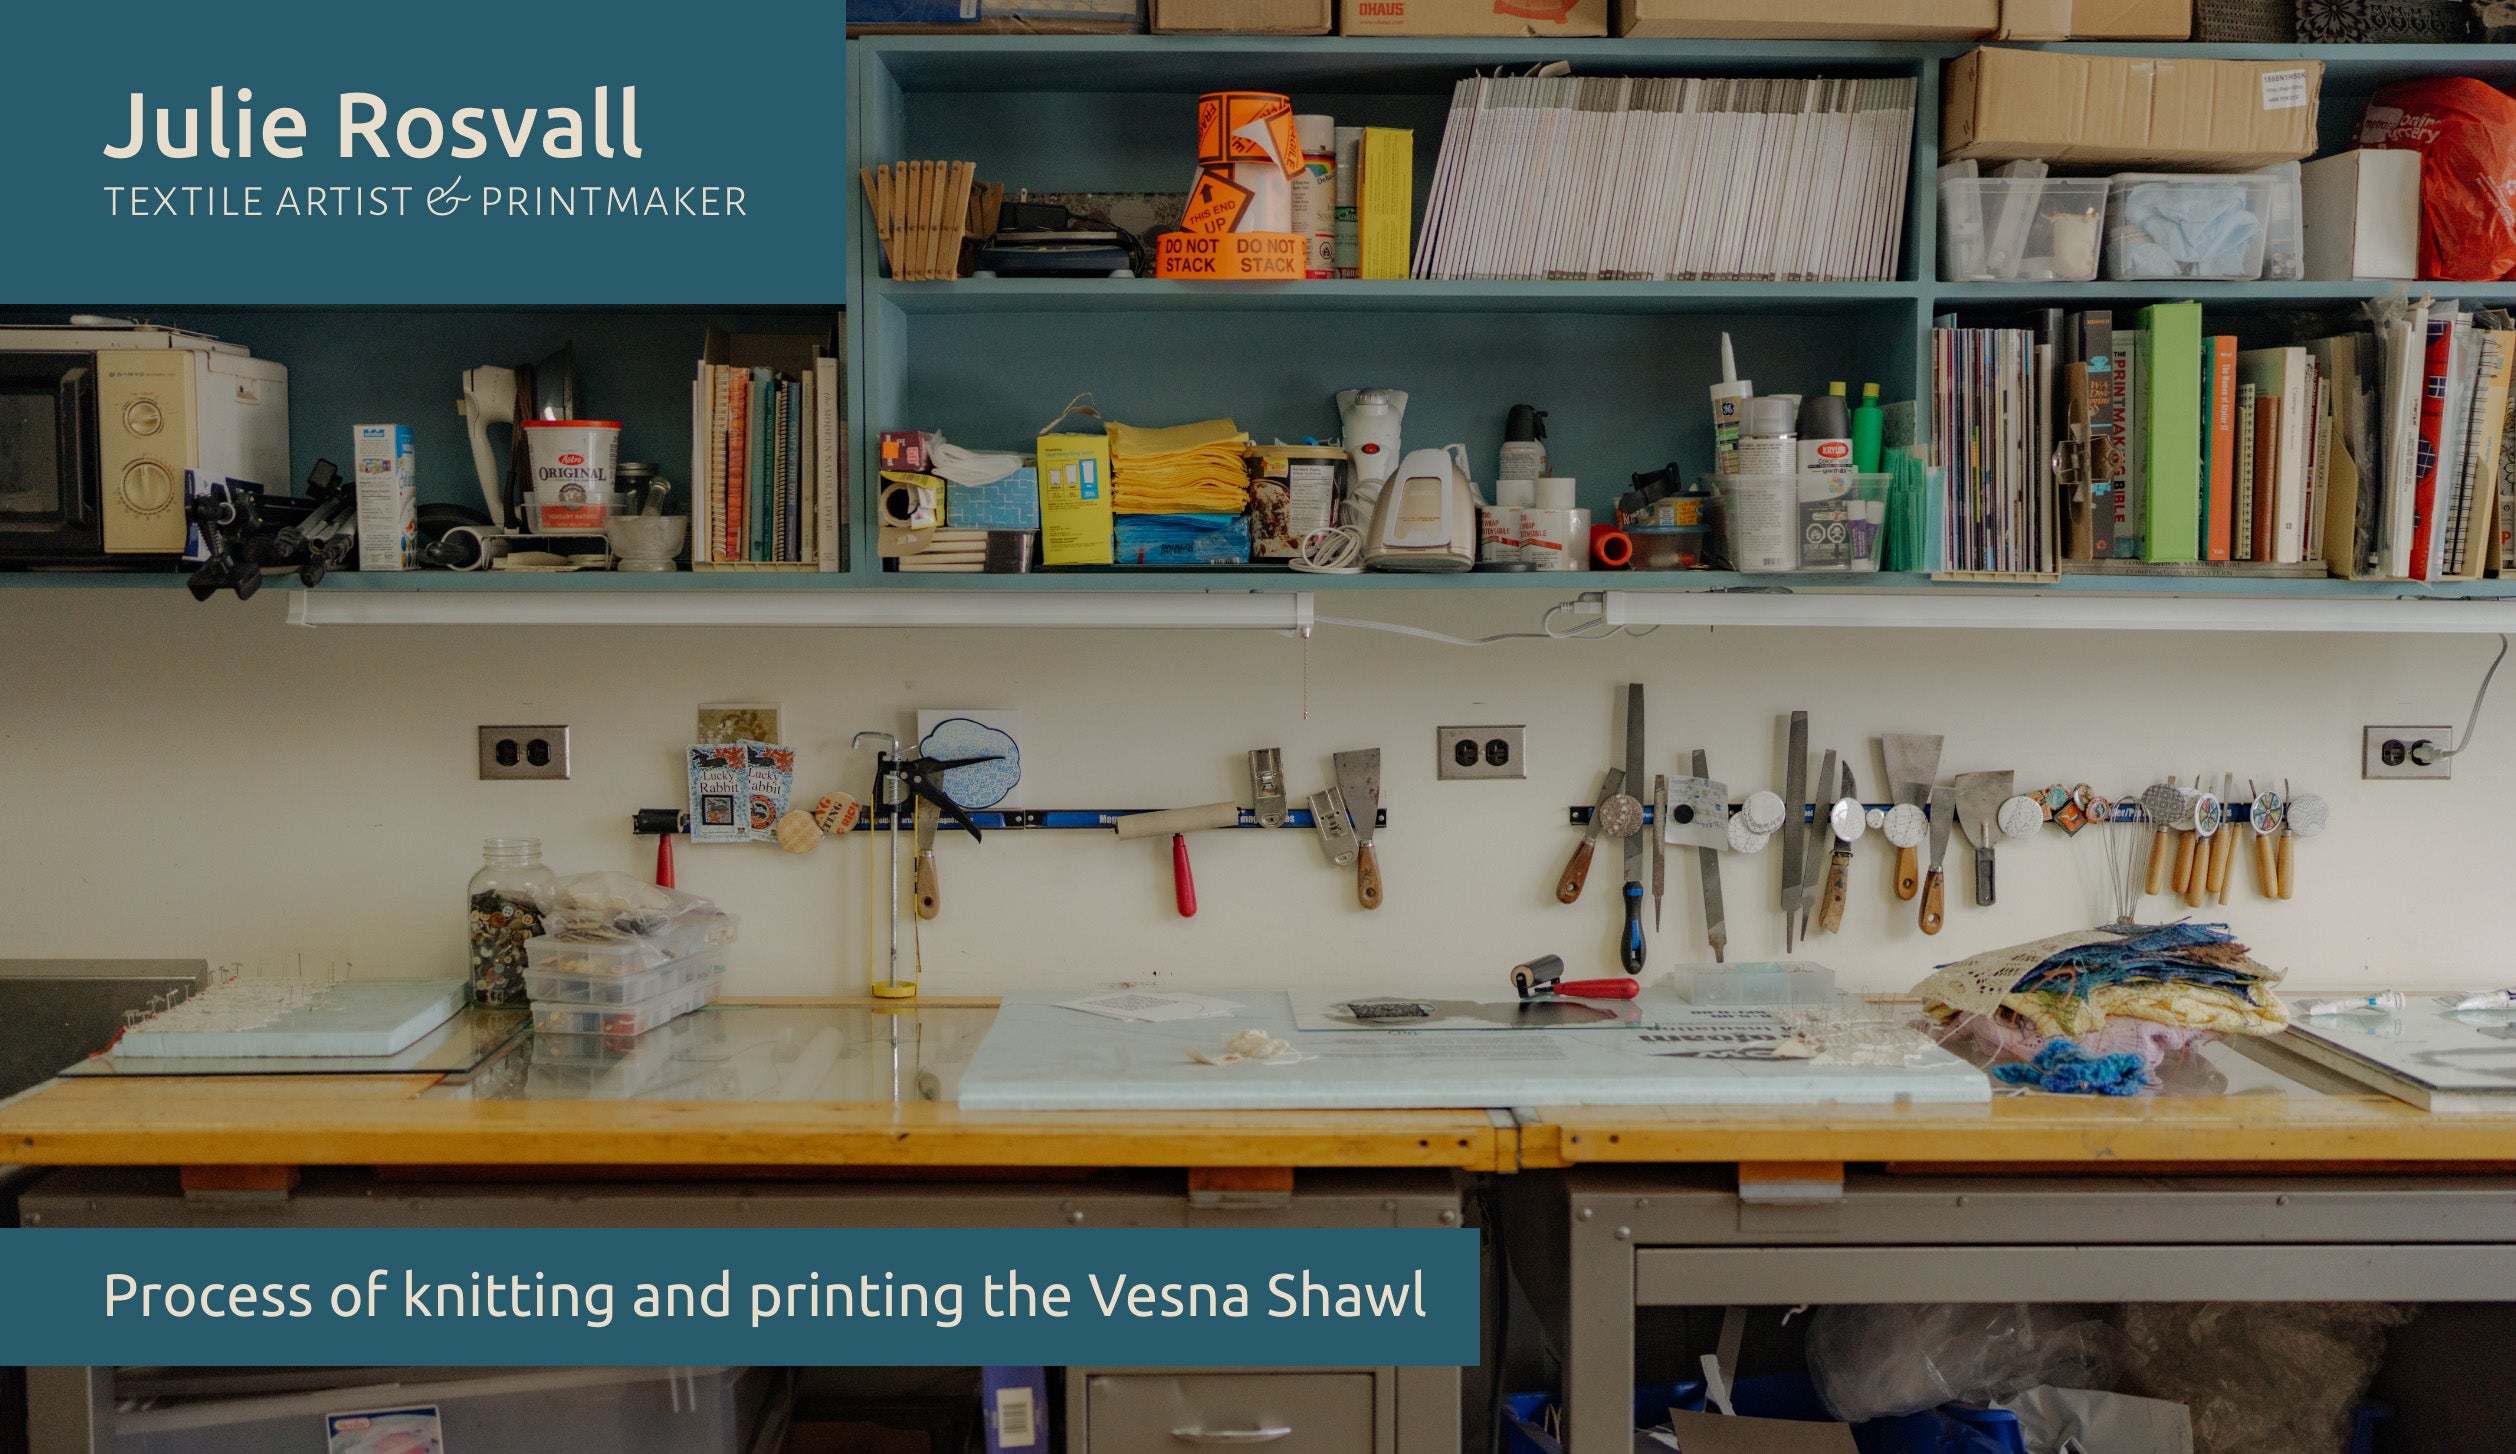
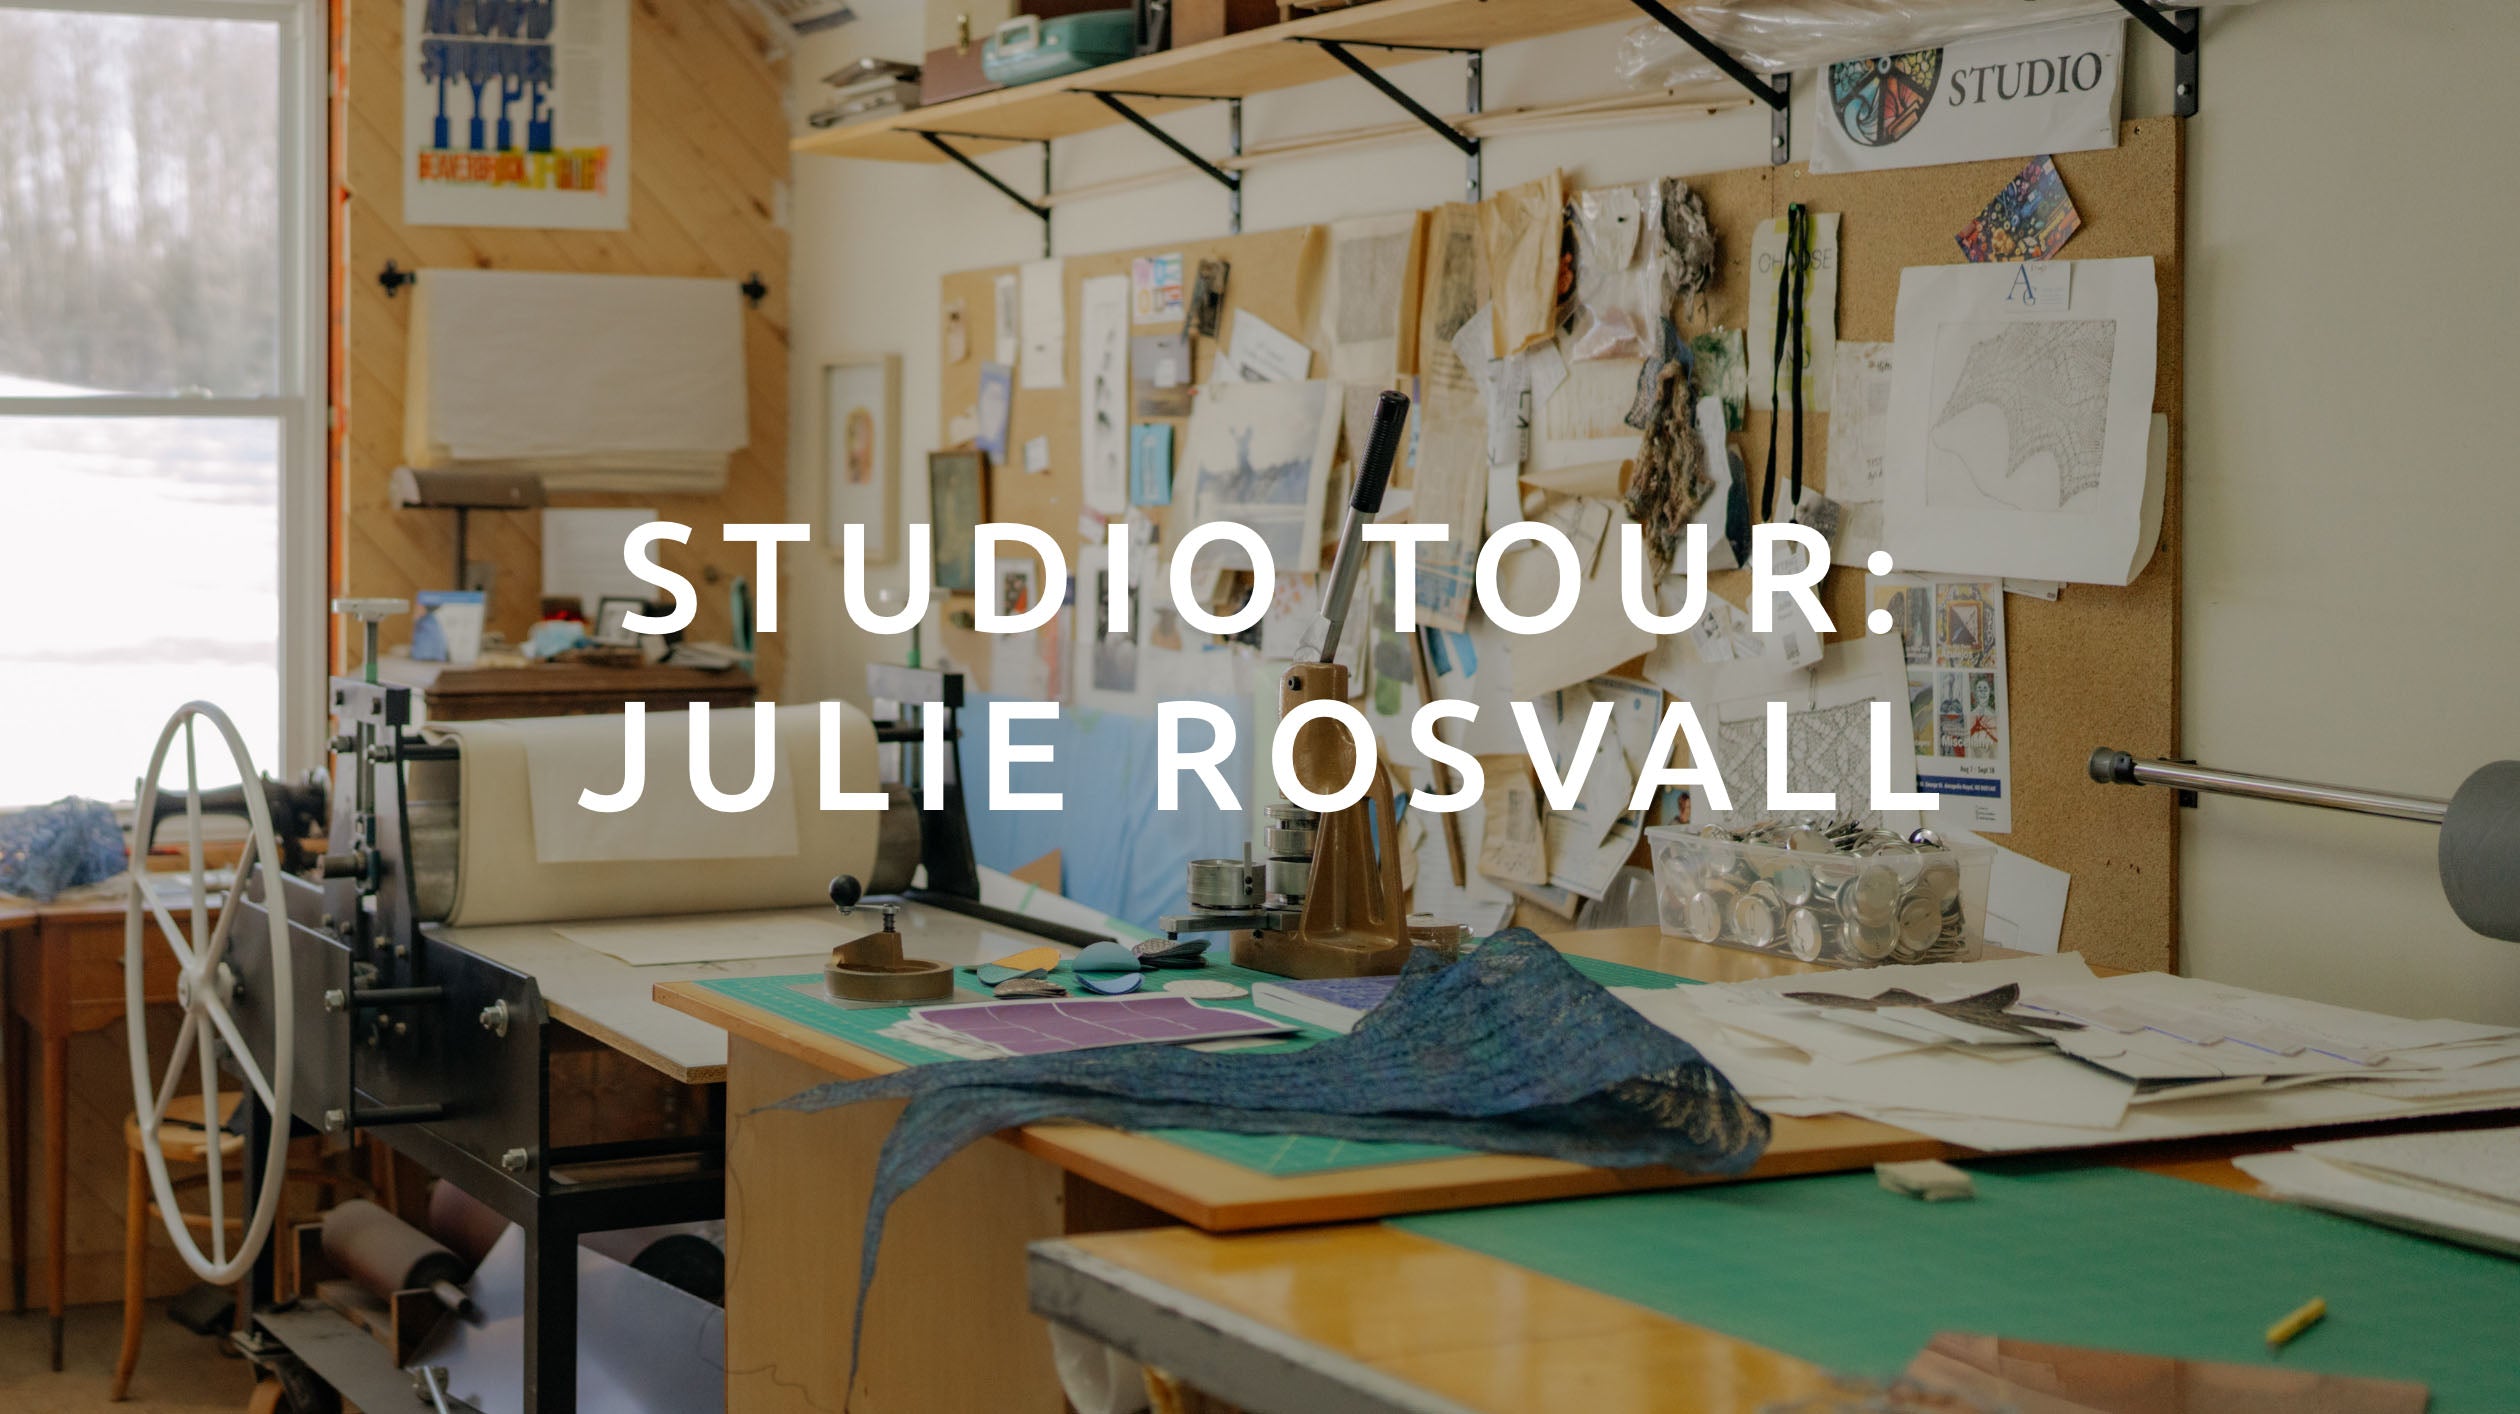
Studio
Thanks to the community of printmakers, studios and colleges who have invited me into their printmaking shops to learn and explore I’ve had the opportunity to see the different ways artists work.
When I began printmaking in 2010, I knew I’d eventually need my own space, and those studio visits helped with planning. In 2012 my husband Peter and I, with lots of help from friends, cleaned out the upper floor of our garage and began the slow process of converting it to my textile and printmaking studio.
Over the past decade I have added several large work surfaces, an etching press with 29” wide bed, three tub stainless sink with cold water only, floor and rigid heddle loom, spinning wheel, textile and printmaking books galore, and incredible scenery. The space is light filled both from the windows at each end, and abundant overhead and task lighting.
Each piece of equipment, every detail of the space has a story behind it. My press was built by a friend who is an engineer, machinist and expert scrounger, the wheel on the press is a boat wheel from another good friend. I can’t wait to share the space and the stories with visiting artists and collectors.
If you are a printmaker, knitter, weaver, or spinner (or better yet a combination), and are interested in working in my studio, please contact me by email, julie@rosvall.ca to chat about the possibilities.


-
Video Credit Fiona Chinkan
Process
I am a knitter who uses my lace knitting to print on paper. Sometimes that is a direct process where I knit, starch, ink, and print directly. But my favourite process is creating soft ground copper etchings, and printing from the copper plate.
In that case after I’ve knit and starched the lace I then prepare a copper plate, deburring the edges, filing them smooth so they don’t cut the paper, wet sanding through multiple grits, polishing the plate, and then degreasing it. That clean surface is then coated with a soft ground, an asphaltum and beeswax coating. The knitting is then placed on the coated plate and put through the press. The knitting leaves an impression in the wax. After further protecting the areas that I don’t want to etch with a vinyl backing and Sharpie I then etch the plate in ferric chloride. This etches the plate anywhere the knitting made that impression in the wax, creating the image that will be inked, and then printed on paper.
Follow along @julierosvall on Instagram to see all the details of my upcoming projects, there is so much more to share, from tearing and preparing paper, signing and numbering prints, framing and crating to send off for exhibition or sale. It is a long process, but the results when successful are incredibly satisfying.
-

1. Knitting
-

2. Blocking
-

3. Deburring
-

4. Filing
-

5. Etched Plate
-

6. Ink
-

7. Inking
-

8. Printing


Process of Knitting & Printing the Vesna Shawl